Search This Blog

Saturday, 30 October 2010

October 2nd - Frames

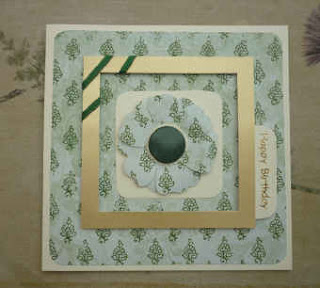
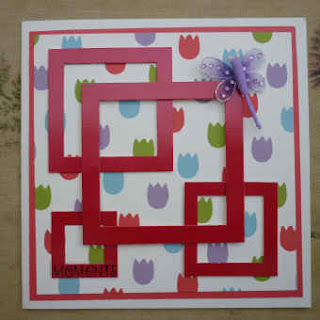
Frames go on top of an image, whereas mats/layers go underneath

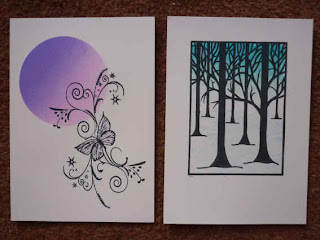
Project ATCs


Project Card
Frames are great for attaching embellishments, ribbons, tags and tabs.


Frames can be used on their own. Choice of background paper is critical.


Frames used to create a background


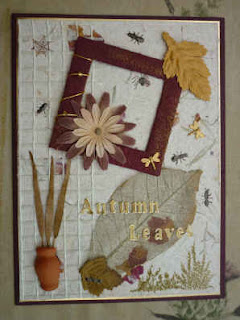
Frames do not have to have a picture in them.

September 25th - Masking

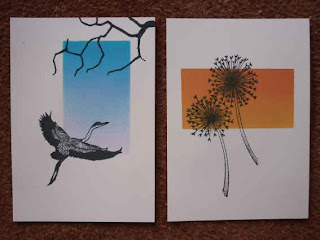
All these ATCs involved the use of masking to either put colour in a particular area in a particular shape or to keep a particular area/shape clear of colour.


These are the toppers created during the initial demonstration/inspiration session.


Some finished cards


September 4th - Serviettes

When working with Serviettes you do need to work with Spray Glue (or spray mount), so you will need to use a box or similar as your spraying booth. It is worth investing in a good brand. It is very good for vellum as well.

All the serviettes were stuck onto plain white paper first before cutting to size and sticking on the cards. When cutting most people found they got clearner edges if they cut with the serviette image upwards.

To give the toppers some protection we found that Crafter's Companions Spray and Shine varnish was the best. Spray glitter over the "background" serviette (ie the ones with an overall pattern or plain) was also very effective. Ordinary glitter glue was great for highlighting sections - use a small paint brush rather than apply direct through the nozzle.

This was the project card. Yes, the crumbs background paper is also a serviette as well a the cupcakes.


This card the vellum was also stuck on using spray mount.


For this card the embossed serviette border was also used as well as the smooth image.


When you have got used to serviettes think about using patterned kitchen roll, patterned tissues and even patterned toilet paper!

This card uses kitchen roll as a background paper.


With the pieces left over from the project card, here are some of the ATCs created.


Saturday, 7 August 2010

August 7th - Spirelli

Project Card


Project ATC


Sample Cards


You don't have to go round in circles with Spirelli


These two are made from combining elements from two Spirelli kits and ideas from a Spirelli book.


Two Spirelli Mosaic Cards

Wednesday, 28 July 2010

July 24th - Painting with Bleach

Cat Card

White card was spritzed with Dawn Bibby spray inks.

The cat image was stamped onto the spritzed card (in Stazon). Stamp from Fourth Dimension.

The whole image was painted with bleach to remove the colour from inside the stamped image.

Then the image was coloured using promarkers.

Dog Card

Image was stamped and embossed on Core'dinations card stock, then the image was painted with bleach. The bleaching effect on this card stock is very subtle and to get the different tones, you have to apply more bleach. Don't over wet the card, allow some drying between applications. The dark brown mat, is also Core'dinations card stock that has been scrunched and then sand-papered. This card is also could for embossing using your die cutting machines and then sandpapering.

Pig ATC

The image was stamped and embossed on Core'dination's Whitewash card stock. Does not bleach easily, the white coating is very sturdy.

June 5th - Shaped Cards

The shoe template used to create these two shoes is from House of Zandra.


July 3rd - Japanese Paper Quilting

Project Card


The paper used is some A4 Japanese paper sheets obtained from Crafty Computer Paper, who can be found at http://www.craftycomputerpaper.co.uk/

Kimono Card


Kimono made using instructions that came with kit from Create and Craft. Paper again from Crafty Computer Paper.

May 22nd - Reflections and Kissing

Cat Card

This card shows my favourite way of using reflections. I like to emboss both the original and the reflected image, so that they come out the same intensity - this is not achieveable with an inked only image, as the reflected image is paler than the original.


To reflect the cat image, I inked up the stamp with versamark, stamped onto a large shadow (solid shape) stamp, then I took a bit of card and pressed it down onto the stamped image on the shape stamp.


Boat Card
This is the card we all had such fun creating, with varying degrees of success but much laughter.

May 8th - Stationery Items

The Project Card

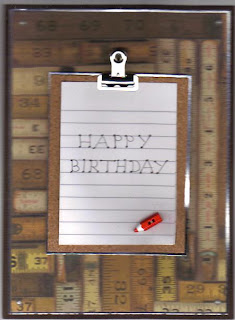
This card is a simple but effective card - it can be altered to suit the intended recipient by just having a different background paper.

The clipboard is created using crafters cork and a bulldog clip - these are available in a variety of sizes and colours. The pencil is a button

Tuesday, 25 May 2010

April 10th - Ribbon

The idea behind this month's projects, was to make you think outside the box when it comes to using ribbon. To make it more part of the card, rather than just tie it round the card along the spine of the card.

The Project Card

For this card, the ribbon helps divide the card up into quarters and becomes part of the pattern/design.

Sunday, 2 May 2010

March 27th - Ultra Thick Embossing Powder and Enamel

This month we looked at the different ways that we use embossing powder/enamel and the different types available on the market. Remember I said not to waste your fine detail embossing powder in any of these techniques. Also that Distress Embossing Powders are not suitable either.


The technique used on this card, for the Vase, was to triple emboss and then stamp into the warm and melted powder with an inked stamp. This was something that most of us have tried at some point. The extra dimension to this card was the embossing powder used. I took some CLEAR Ultra Thick Embossing Powder and added a few drops of alcohol ink to the powder, stirred the mixture and left it out overnight, to make sure the alcohol completely evaporates. I particularly like this method, as when you emboss with the powder you do not get even colour coverage.


This was the card that was the inspiration for this particular session. The topper background paper was created when we played with shaving foam and spritzers/sprays. The ship image was stamped and embossed with fine detail embossing powder. Then the sails and the hull were painted with household bleach to take out the colour. The embellishment was created by combining Copper Metal Magic and Black & Gold ordinary Embossing powder into a silver pie dish. This was then heated, until liquid and poured onto a craft mat, and then an inked Compass stamp was pushed into the liquid and allowed to cool. Then some Perfect Pearls where dusted over the embellishment.


This card shows a particular favourite method of mine for words. Choose your colour embossing powder, heat it up, pour it onto the mat, then ink up the word stamp with versamark and stamp into the liquid. You do not want the whole word (or image) so you only need to heat up a small amount. Remove stamp and dust the letters with Perfect Pearls. Then fill up the letters with Crystal Lacquer.

Sunday, 14 March 2010

March 13th - ATC and Card Making Club

The theme for this month's meeting was envelopes and wire.

The idea was to give people some ideas about using envelopes as toppers. Envelopes for toppers can be bought in packets, cut out using dies and assembled, drawn and cut out from paper using templates.... It was also the opportunity to play with wire and sealing wax.

The Project Card


The Project ATC


This card has a wax seal on the main envelope topper, also this same envelope is padded.


The envelope topper has been lined with the same paper as the backing paper.

Sunday, 7 March 2010

6th February - ATC and Card Making Club

The theme for this month's club was creating Tags as toppers. These are the inspirational cards I made for the ATC and Card Making Club for this month.

This was the project card - Used Sue Smith papers/kit


This was a card shaped as a tag and more tags attached - Used Michele Marsden/Redhot Bed materials


The Giraffe Image is from Craft Creations - this was the groups favourite card.


This card was my personal favourite - Again the image is from Craft Creations. The idea behind doing tag toppers was to get the group to experiment with putting toppers on a card at an angle. This comes more naturally with a tag shape topper.


Finally like ATC, tags are also a popular swapping/calling card.

Thursday, 11 February 2010

31st January - Rubber Stamping Club

The theme for this meeting was learning to use the Brayer Here are the sample and project card I made to inspire you all.

My personal favourite

Play spot the difference between these two tree landscape cards.


This Oriental one is A4


The fisherman card most admired card on the day

This is a postcard I did for a Blue Postcard Swap.