Search This Blog

Showing posts with label Clarity Stamps. Show all posts

Monday, 10 April 2017

March 2017 - Adding Gesso Highlights


  • First of all we recapped how to create the ink background.  Then we applied water by flicking and through a stencil to lift some of the ink.
  • Then it was a light spray of the ink, to get some darker colour spots on the background.
  • Then using the coordinating dark dylusion paint, stamped some texture onto the main page.
  • Then we applied highlights of white gesso, using wallpaper technique (Seth Apter has a demo online about this)
  • Then stamped the word Fashion (Inkydoodles stitched tile alphabet) and the border (Dylusion Stamp)..
  • Then stamped the lady image (Dylusion stamps) on the main page and on a mop up page.  Overstamped the dress and hat on the mop-up page with script and cut them out.
  • Using the Groovi system (Clarity Stamp), created two heads with hats on parchment and coloured them in and cut them out.
  • Stuck everything on the main page.
  • Lifted the ink out of the fashion tiles so they could be read and put dark grey line around two sides of the tiles.
  • Stamped the words (Dimension Stamps).
  • Added the peel-off stars.


Thursday, 31 December 2015

December - Music

This month we went with a theme of Music.  Everyone bought along stamps, peel-offs and paper etc, that linked in with the theme of Music.  I brought along cards or images of cards that I had created over the last 12-18 months for inspiration.   Everyone then did what they wanted.

Inspiration Cards


 From Clarity Stamps

 From Dimension Stamps


 From Paper Nation/Jolly Nation

 From Paper Nation/Jolly Nation, Dimension Stamps (Record and Background) and Indigo blue (words)

 Clarity Stamps letter set.

 From Craftsuprint

  From Dimension Stamps

 From Dimension Stamps

From Dimension Stamps

This is the card I created on the day, in-between helping others.


The butterfly music collage stamp (from Imagination Crafts) was stamped on heat resistant acetate in versamark and black embossing powder applied and heated.  On the reverse of the image, it was coloured using mica powders mixed with water (from Phill Martin Cosmic Shimmer Range).  The music paper was sections I cut out from an old sheet music book (brought at a charity book shop).


Sunday, 18 October 2015

July - Stencils 2

This month we concentrate on using our brushes with stencils.


Also learnt about masking fluid.


Sunday, 12 July 2015

June - Stencils 1

This month we concentrated on using our stencils and fine-liner pens in black and in white.


This first class project involved drawing round the stencil in black and then zentangling the various areas.
The stencil was the Flame frame from Clarity Stamps.  I wanted to put a zentangle stamped image in the centre, but I did not have one, so I used a stamp from Clarity Stamps that I could make look like it had been zentangled.


The second class project involved drawing round the stencil in white pen.  The tree stencil was from Imagination Crafts.  The deer stamp from Clarity Stamps.  The background was created by using the "handmade paper effect" texture cube.  I really wanted the dies cuts to be ivy, but I did not have those dies - however they arrived in time for the class and the members cards looked much better for it.


This card sums up what I enjoy about making cards and that is using products from different companies and bringing it all together to make a card.

The stencil is from Clarity Stamps, and I have just drawn round with a black pen. The lady and small individual flower stamps are from ........... and the square stamp of three flowers is a freebie stamp from Craft Stamper.

Whilst I was talking the class through the making of the above card, I made the card below.


Then finally we made the following card.

Firstly the lady of choice was stamped - she is from a Debbi Moore stamp set, she came with the circle frame as part of the stamp.  Then several different circle stencils were used to draw circle round the stamped images - every range of stencils seems to have one or two made up of just circles of different circles.  The other stamped images and sentiments come from a Phill Martin set of stamps.

Note not all the circles are coloured in.


Monday, 13 April 2015

April - Triple Stamping

Sample Card and Card made during class, along with class members.


A selection of stamps used from Clarity Stamps (words), Little Claire (Flower stamps on yellow card) and Dimension Fourth (Swirl stamp on both cards).  The flower on the red flower card was an old wooden block stamp.
 

Male themed car - stamps from Inky Doodles, greeting from Little Claire and spritz from Phill Martin's Decadent Range
 
 
Always wondered how you could use up A4 sheets of patterned paper that you have multiple copies of - well layer them up and they look like triple stamping.


Sunday, 8 February 2015

January - Make Your Own Stamp Pad

This month's class cards were inspired by a card I made at a Maria Simm's workshop.

Using Cut 'n' Dry Felt and Tim Holtz Distress Stains, firstly we created a stamp pad for a particular floral stamp.  Different colourways for the two flower stamps (both from Clarity Stamps)


Then we went on to create a random multicolour (3 colours) stamp pad - not striped.

 
The leaves and the saying are from a Clarity Stamp set, the lady walking is from Little Claire.
 
To create the ink pads we used cut'n'dry and Tim Holtz Distress Re-inkers.

Friday, 27 June 2014

March - Tree Landscapes

Inspired by a Barbara Gray Lesson on Create and Craft, using the tree and mantel set

First time people had used a rule for a stamping block - the bottom grass stamp  would not fit on anything else.

All down on watercolour paper.  This lesson gave us the opportunity to compare the different types of watercolour paper we had in our stashes and what worked and what did not.

(need to add another picutre here)

Sunday, 19 January 2014

December - Masks and Masquerade

This month we concentrated on a theme rather than a technique.  The theme was bring along anything you might have in your craft stash that would fit Masks/Masquerade.  My contributions to this theme play session.

 A variation on the Dimension Stamps monthly club project.


 Using the Spellbinders die.  Handle is a hat pin with some beads threaded on it.

Clarity Large Mask Stamp

Clarity Small Mask stamps and some coordinating charms.
 
Forgotten to take picture of 6 x 6 plaque - will upload later.

Saturday, 9 November 2013

September - Masking

This month we practiced using Masks to create an overall picture.
This was the first project card.
Stamp the vase, mask it.
Stamp the table and flowers.
Add some zentangling and then assemble card


This was the more advanced project card.
Stamp the vase and mask it.
Colour the flower stamp in two colours using distress pens.
Change vase mask, so vase can be seen but not the background.
Stamp crackle through the mask.
Sponge through the mask.
Apply Versamark through the mask.
Add embossing powder and heat.
Assemble card.


These two cards used the same stamp repeatedly and several masks of the image to create the background.
On one the right bits of the slices have been coloured and on the other, the wrong bits have been coloured, using promarkers.
 
 
This one had to practice placement of the girls so it looked right on copy paper first.
Stamp the girls and then mask them.
Stamp the wall twice to get it the right length - use a fine liner black pen to join up the two pieces of wall if necessary.
Need to make sure that the masks are cut well, so that the wall goes in the all between areas of the girls.

Monday, 5 August 2013

June 1st - Grid Cards 2

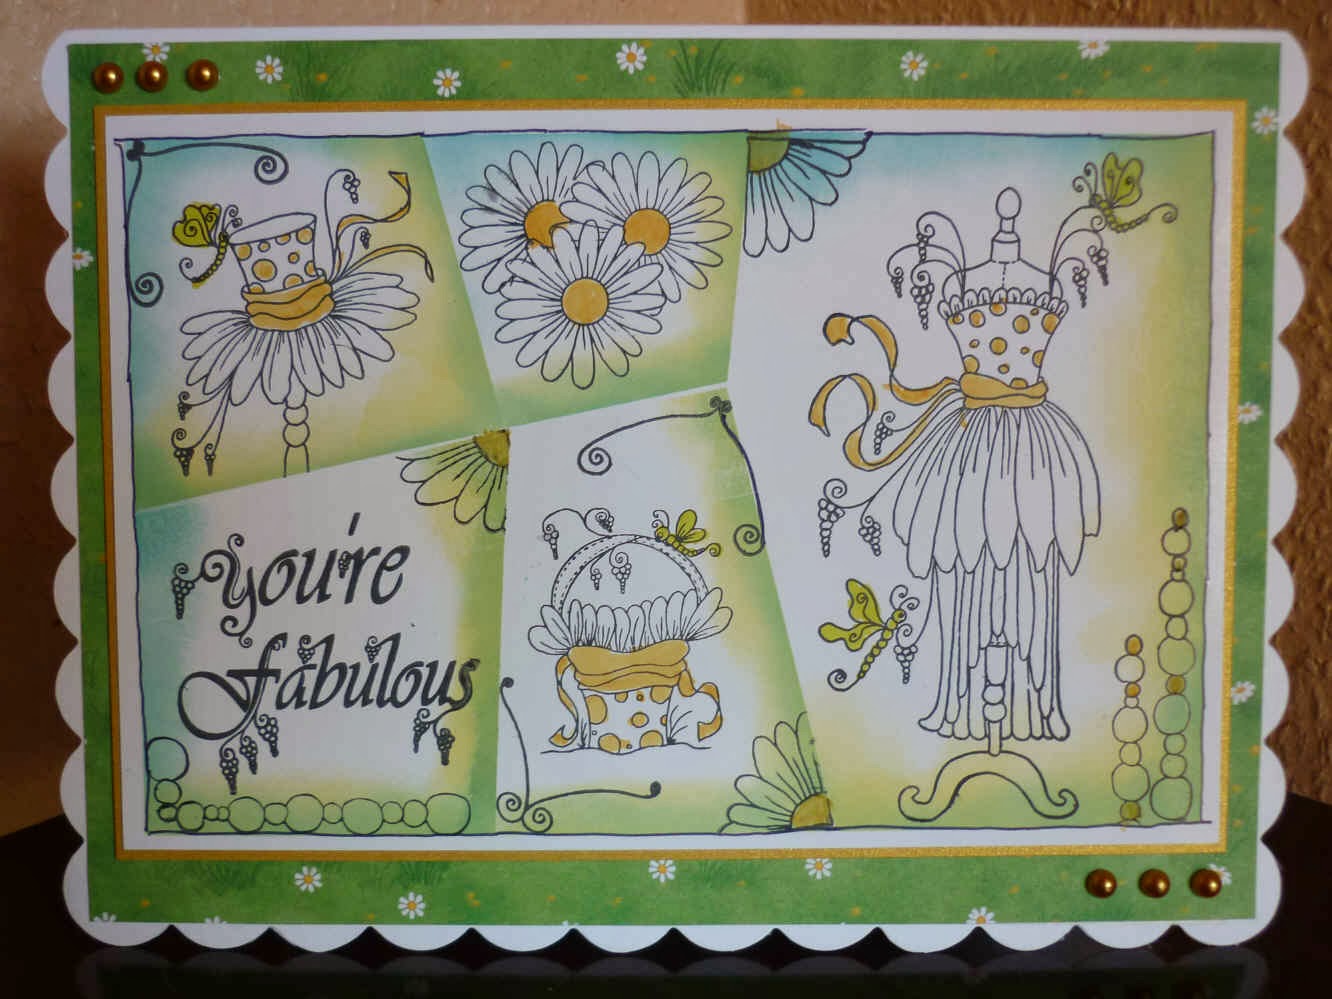
This session was a request after the ladies had seen this card.

Mainly Clarity stamps used for this card.
 
I personally find it is a better card if the images in each of the grids tie together in a theme. 

A couple of Little Claire Stamp Sets used here.
 
Try and keep the mats and layers simple.

A couple of Sandra Wright (House of Zandra) stamps used here.
Stamps are the Daisy theme, hence the background paper used.

Sunday, 13 January 2013

September 29th - Brayering

Further practice with our brayers and this time with Versamark - pads and pens.

In this one we used the Versamark pen to create snow.  We also practiced used the Versamark pad and stamps for a resist technique
 
In this one we use cotton wool and the Versamark pad to create clouds.

Sunday, 1 April 2012

March 31st - More Brayering

For the first two toppers Adirondack Ink pads were used to create the background using a brayer.  A variety of makes of stamps were used (Clarity, Inkylicious and Tim Holtz)

For the next topper, a Kaleidoscope Ink pad was used to create the background.


For the last topper, a Big & Juicy Ink Pad was used to create the background.


Stampscapes stamps were used to create the scenes in the last two toppers.