Search This Blog

Monday, 5 August 2013

August 3rd - Collage Stamps

Here is the first card project - deconstructing the collage stamp to create a number of different background papers.

 
Another collage stamp, again taking individual elements from the collage stamp to create the background, then "decoupage" the topper with tags.
 
 
Take the collage stamp and stamp in sepia and then colour just the focal part of the image.

 
Stamp on acetate, heat embossed, added adhesive sheet to the back of the stamped image and coloured in with glitter and sakura pens.

 
Creating a background with an element of the stamp, but not an all over background.


Image stamped and decoupaged and glittered round the edges.

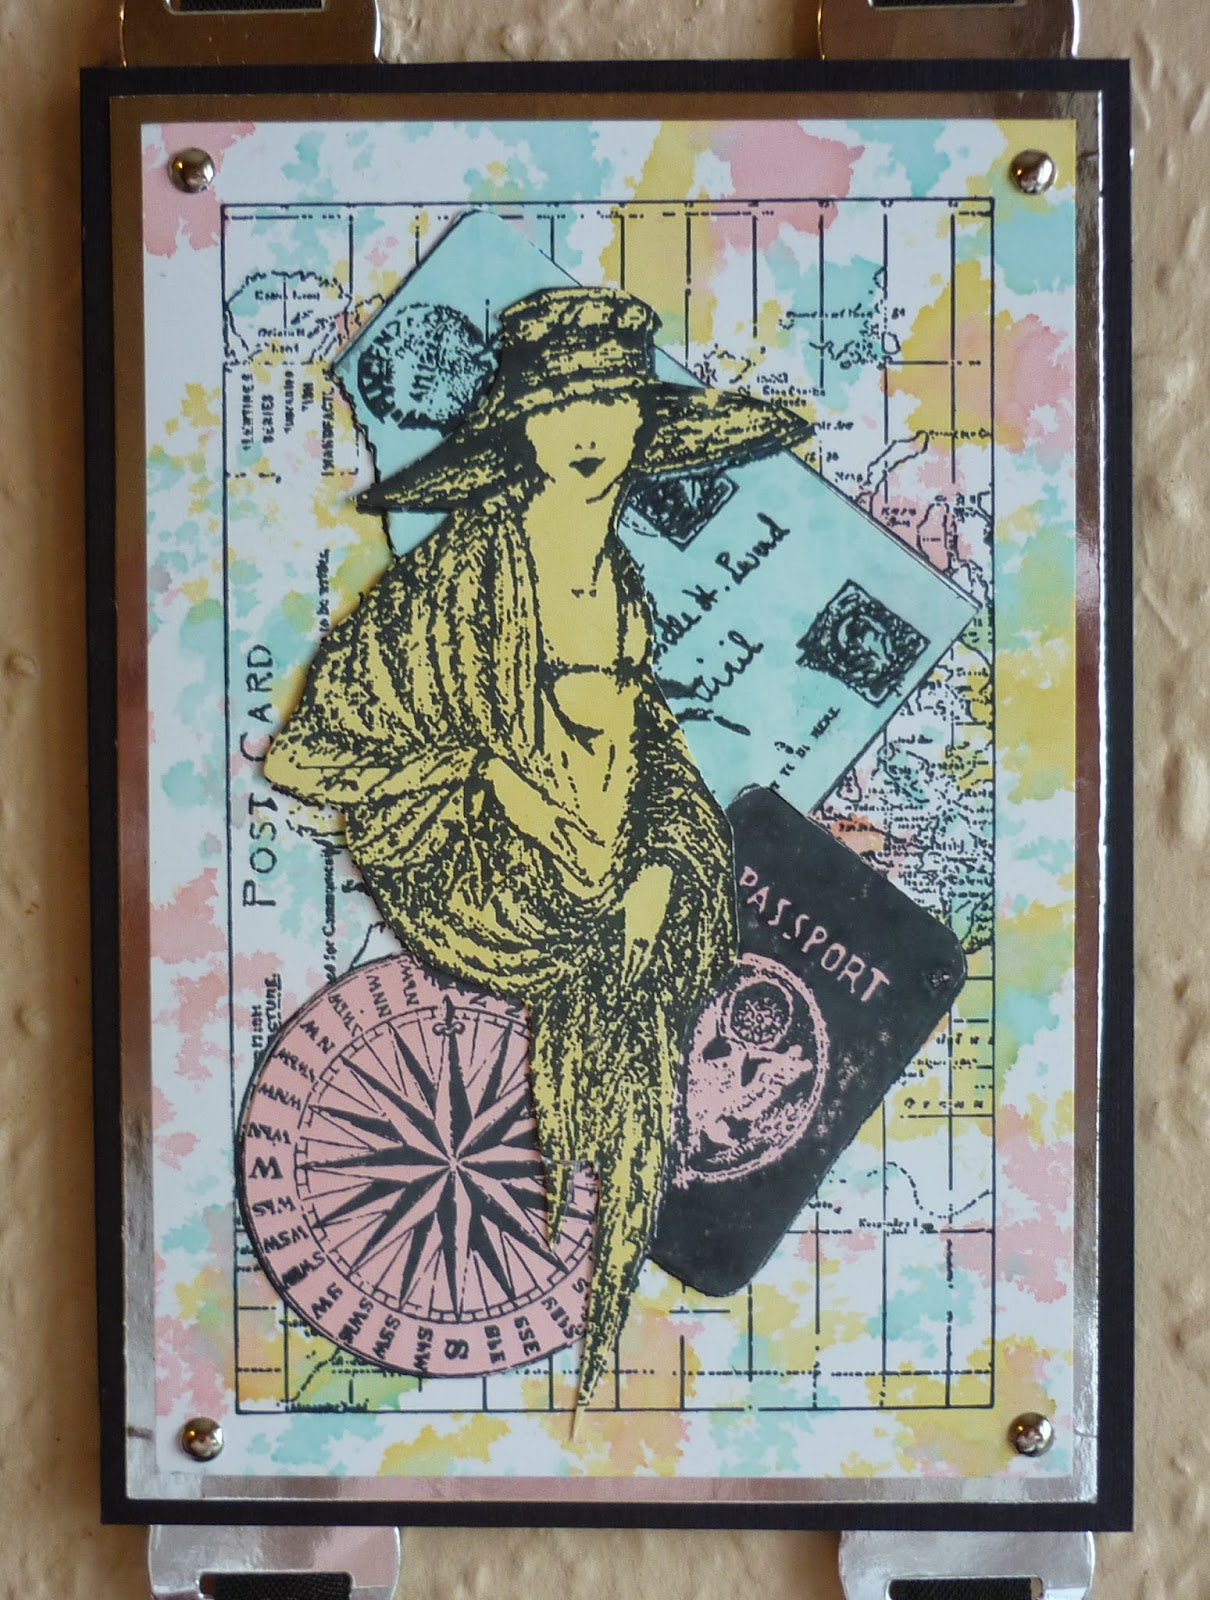
  Wall Hanging
Created using several travel collage stamps.
 
Backgrounds created by using three alcohol inks.  Then the individual coloured inks were taken to colour pieces of card for stamping elements of the collage stamp, and then paper piecing over the multicoloured card.


Another wall hanging


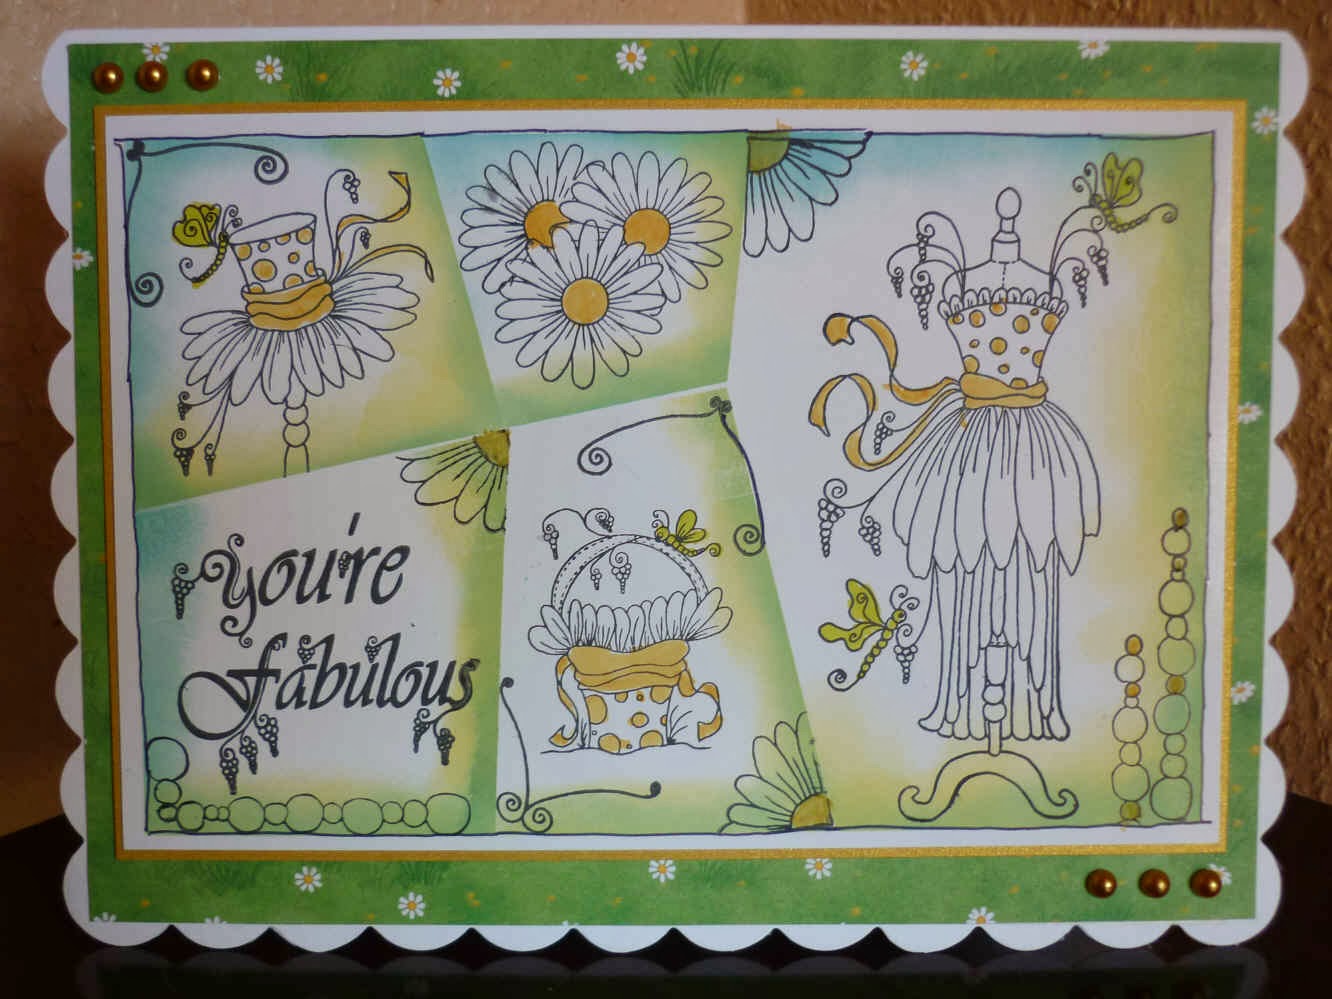
June 1st - Grid Cards 2

This session was a request after the ladies had seen this card.

Mainly Clarity stamps used for this card.
 
I personally find it is a better card if the images in each of the grids tie together in a theme. 

A couple of Little Claire Stamp Sets used here.
 
Try and keep the mats and layers simple.

A couple of Sandra Wright (House of Zandra) stamps used here.
Stamps are the Daisy theme, hence the background paper used.

Sunday, 5 May 2013

May 11th - Playing with Dies

Large Corner Dies

 
These large corner dies usually come in a set with a miscellaneous selection of smaller dies.
These large corner dies usually only cut out on two sides, to get the third side to cut out, you have to do it yourself with scissors or a guillotine OR you can line the die up again a straight edge of a piece of card.
 
 
This uses the butterfly corner set and the petite labels.
  Card is a 14.5 cm scalloped square card.
 
 
This time the corner was cut out twice and put back in its "hole".  The diagonal double line of dashes has been mirrored round the outside of the card by using a perforating blade in a rotary trimmer.
 
Extra butterflies were cut out and layered up.


This uses the corner die from the Spellbinders Shapeabilities Botanical Swirls And Accents set.    Corners in the corner.  Card is 7.75 inches squares. A teardrop circle die and a splendid circle die for greeting topper.  Message stamped and embossed.

Same corner die, this time corners in the centre.  Card is 7.75 inches square.  Centre circles are from Splendid Circles and Butterfly Cirecles.  Message just stamped.
 

Channel Cards

 
Single channel into which greeting has been stamped and heat embossed.
The two pieces of card creating the channel have been embossed using an embossing folder.
The shaped edges of the channel have been created using and edgeability.  You could of course you a fancy blade on your rotary trimmer.

Double channel, with a contrasting pattern showing in the channel, great use for double sided 12 x 12 thick paper/light card.

 
Single channel created with an edgeability and a motif insert.  Then ribbon laced through the holes. All top and bottom cross-overs are the same, looks untidy if they are not.

 
Single channel created with an edgeability and a motif insert. Then ribbon laced through the holes. All top cross-overs are the same, looks untidy if they are not but in a different way to the previous one.


Edges of channel created using a border die from an Accents set.  Note channel is off-centre.  Card underneath has been embossed with a complementary pattern.

 
Again a single off-set channel.    Flowers do not touch both sides at the same time, but do touch each other in the middle of the panel.  The panel effect is created by using a Tim Holtz ledger embossing folder.
 

Semi-Circle Cards


Elegant swirl semi-circle die uses once.


Die used twice "back to back".
 
 
Die used twice but off-set.
 
Inspired by this card I made for my sister-in-law's birthday.


Edgeability Inserts

 
My most requested commission card design.  The bottom patterned panel is created by using the patterned inserts that go with the Edgeability dies.


 Wedding Card for a mature couple
 
 Silver Wedding Anniversary Card

 65th Wedding Anniversay Card


Sunday, 7 April 2013

April 6th - Generation Stamping

After explaining what Generation Stamping was and how it is used in filling out vegetation, creating backgrounds, 3D effects and movement, we went on to create the following cards.

 
Background stencil is from Peerless Designs and the words and cars are Tim Holtz
 
 
The stencil is from Ali Reeve (Stamps Away)
 
 
The scroll stamp is from Dimension Stamps.


Sunday, 17 February 2013

Feb 2nd 2013 - Paste and Masks

This month we played with various brands of templates and dimensional paste.

 
Cat is a Sweet Poppy Metal Stencil and the paste used is the Sweet Poppy Stencil Dimension Paste.


Hummingbird and Fuchsia Stencil is a Glitz Craft plastic stencil and the paste used is Glitz Craft Glitter Frosting Stencil Paste.

 
Trellis stencil is a plastic Imagination Craft Stencil and the paste used is Imagination Craft Glitter Paste.  The butterfly has been cut out of glitter card the same colour as the backing glitter card - however the cutting process has given the butterfly a distressed look.
 

The stencil used to create this topper is from Splodge Away.  Sweet Poppy paste has been used for the wolf and Imagination Crafts paste has been used for the moon.

 
Imagination Craft Stencil and Paste used for this card - two colours

 
Glits Craft Stencil and Imagination Crafts Paste used for this card - four colours.

 
Imagination Crafts stencil, paste and pre-printed background paper used for this card.


MDF pen holder painted first with Gesso, then emulsion paint and then Imagination Craft Glitter Paste and Stencil, all the way round.  Had to be done a side at a time.


Sunday, 13 January 2013

January 5th 2013 - Grid Cards

Using a grid template from Make Me created a layout of several images for the front of a card.  Practise and Patience needed for this.  Used our blending mats and sponges.  Don't be afraid to repeat a panel or image with the design.


The grid layout for this card was devised by myself

December 1st - Buckle Cards

Inspired by Sue Wilson, we played with our dies and had a go at creating "Buckle" cards.
 
This is the club project card.
  Using Decorative labels 1 and Labels 16. 
This was using dark frames on a light background.

This card uses Labels 1 and Decorative Labels 1.
 Light frames on a dark background. 
 
This card used pastel card and paper.  Smaller flowers were created for embellishments.
 The flowers unfortunately cover up the weaving effect of the ribbon through the "buckle". 
 
This card was created for a Black and White Card Swap.
Classic circles and Picot Circles were the dies used.
Instead of "fish-tailing" the card ribbon, the corners were rounded to be more in-keeping with the circle theme.
 
A more feminine version